Digital Sharing for Apple Users: A Take Control Crash Course (2014)
Send iTunes Playlists to Others
A playlist in iTunes is exactly that—a list of songs. Perhaps you’ve created the world’s best playlist for a family road trip, for writing on a rainy day, or for birthday parties in odd-numbered years. You can send that list to your friends so that they, too, can experience the sonic perfection of your curatorial skills.
Unlike mix tapes (remember mix tapes?) or their CD equivalents (remember CDs?), playlists don’t include the actual music—they really are just lists. So, if the recipient happens to have all the same tracks in her iTunes library, she’ll hear everything as you intended. If not, an error message will appear when the playlist is imported stating that not all tracks are available.
One solution is to share the music using Home Sharing (see Broadcast an iTunes Library in Your Home), which works well enough if the other person is on your local network and has one of the (up to) five computers you’ve authorized to play your purchased content. But Apple no longer lets you buy someone else an arbitrary playlist of files—you can send an individual track or an entire album as a gift, but that’s not the same as buying a playlist. The only (more or less) legal option I’m aware of is burning a CD with the playlist contents, assuming your Mac has a SuperDrive.
Send Playlist Tracks with Home Sharing
If your goal is to give someone else on your local network (and already signed in to Home Sharing) both a playlist and the constituent tracks, you must transfer the tracks themselves first. This needs to happen on the other person’s computer:
1. On the intended recipient’s Mac, display the shared iTunes content from your computer (the one with the tracks in question).
2. Select the playlist whose contents you want to copy ①.
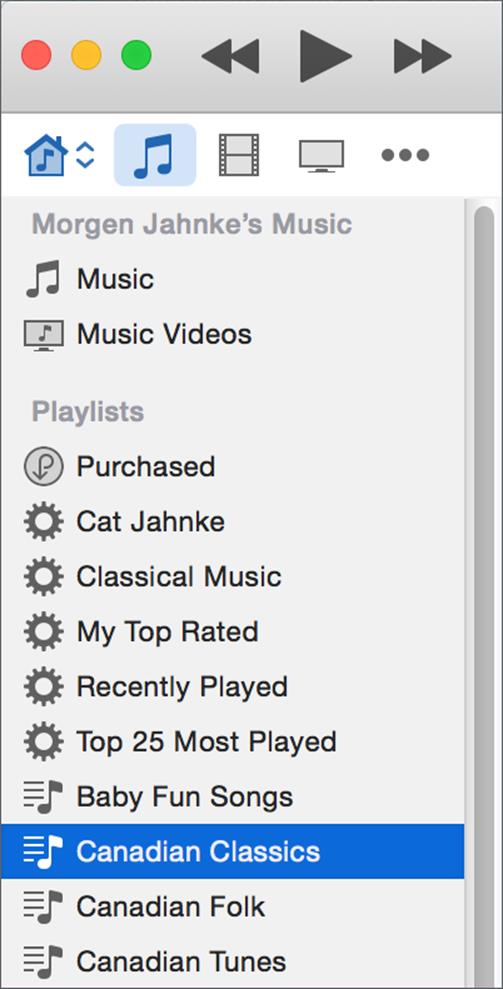
① On another person’s computer, select a playlist from your own computer.
3. Select all the tracks in the playlist.
4. Click Import.
The files transfer from your computer over the network. Then you can proceed with Send a Playlist.
Send a Playlist
1. In iTunes on your own Mac, select a playlist.
2. Choose File > Library > Export Playlist.
3. Choose a name and location for the exported playlist and click Save.
4. Transfer the file you just created to the other person’s Mac. (How? Look in Send Files to Others for ideas.)
5. In iTunes on the other person’s Mac, choose File > Library > Import Playlist, select the file you just transferred, and click Open.
The newly imported playlist should appear, with all the tracks you just transferred properly associated.
Burn a CD
If your Mac has a SuperDrive (or other CD burner), you can also send a playlist in physical form by burning all its songs on a CD. Remember, CDs have limited capacity, so you may need to fiddle with your playlist to get all the music to fit.
1. Insert a blank CD.
2. Select a playlist.
3. Choose File > Burn Playlist to Disc.
4. Confirm the settings you want (the defaults are usually fine) and click Burn.
Share this tip and chapter on ![]()
![]()
![]()
![]()
![]()
“Sharing iTunes playlists is kind of pointless unless the other person is signed into Home Sharing on your network.”
Discuss “Send iTunes Playlists to Others” via ![]()