Getting Started with Windows Remote Arduino (2015)
3. Digital I/O
In this chapter I'm going to explain how to remote Arduino Digital I/O using WRA.
3.1 Getting Started
In this chapter, we learn how to access Arduino digital I/O via Windows Remote Arduino. Our scenario is to use a pushbutton and LED. If pushbutton is pressed, LED will lighting.
You can find a pushbutton on the following online store:
· Sparkfun, https://www.sparkfun.com/products/97
· Adafruit, http://www.adafruit.com/products/1400
· eBay, http://www.ebay.com
In this scenario, I use USB as bridge to Arduino. You can replace it by Bluetooth.
Let's start!.
3.2 Wiring
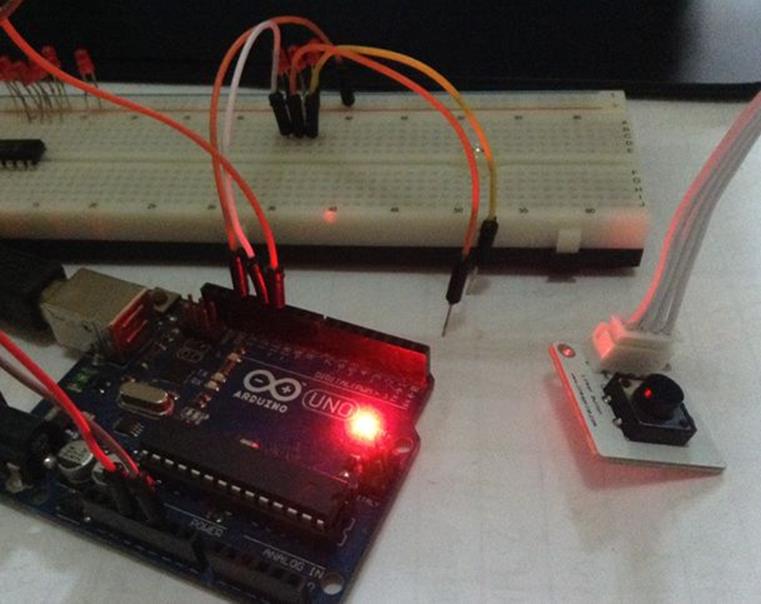
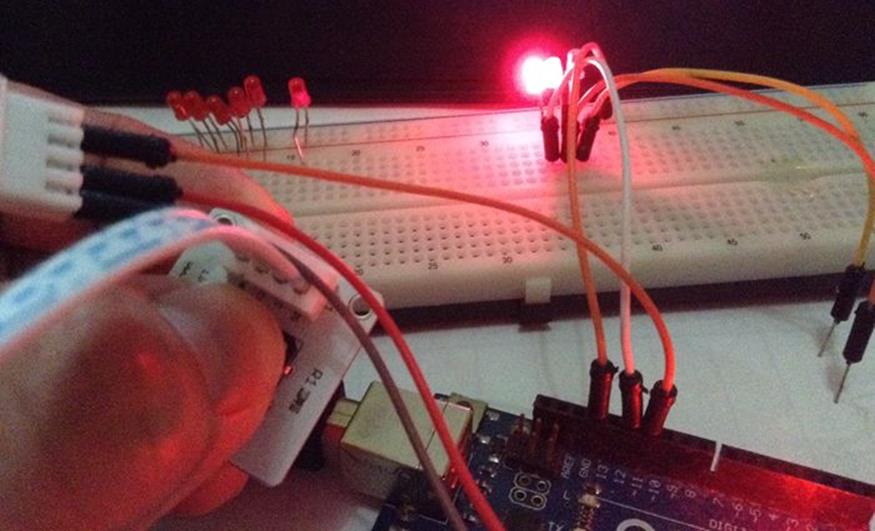
Connect LED to Digital 12 on Arduino and pushbutton to Digital 11. The following is a sample of wiring.
3.3 Creating and Configuring a Project
Create a new project, called DigitalIoDemo. Follow instructions to create and configure the project as explained on section 2.3.2, 2.3.3 and 2.3.4.
3.4 Writing a Program
We modify MainPage.xaml.cs. Add the following namespace.
using Microsoft.Maker.Serial;
using Microsoft.Maker.RemoteWiring;
Define some variables for LED and pushbutton.
private UsbSerial connection;
private RemoteDevice arduino;
private const byte LED = 12;
private const byte PUSHBUTTON = 11;
We define InitWRA() to initialize WRA. Then, we subscribe DigitalPunUpdateEvent event. We update a state on LED from pushbutton state.
private void InitWRA()
{
connection = new UsbSerial("VID_2341", "PID_0043");
arduino = new RemoteDevice(connection);
connection.ConnectionEstablished += Connection_ConnectionEstablished;
connection.begin(57600, SerialConfig.SERIAL_8N1);
}
private void Connection_ConnectionEstablished()
{
System.Diagnostics.Debug.WriteLine("Connected");
arduino.pinMode(LED, PinMode.OUTPUT);
arduino.pinMode(PUSHBUTTON, PinMode.INPUT);
arduino.DigitalPinUpdatedEvent += Arduino_DigitalPinUpdatedEvent;
}
private void Arduino_DigitalPinUpdatedEvent(byte pin, PinState state)
{
if(pin==PUSHBUTTON)
{
arduino.digitalWrite(LED, state);
}
}
Finally, we call InitWRA() method on class constructor.
public MainPage()
{
this.InitializeComponent();
this.Unloaded += MainPage_Unloaded;
InitWRA();
}
private void MainPage_Unloaded(object sender, RoutedEventArgs e)
{
arduino.Dispose();
}
Save this code.
3.5 Testing
Now you can compile and run this program. For testing, try to press pushbutton. You should see a lighting LED.
All materials on the site are licensed Creative Commons Attribution-Sharealike 3.0 Unported CC BY-SA 3.0 & GNU Free Documentation License (GFDL)
If you are the copyright holder of any material contained on our site and intend to remove it, please contact our site administrator for approval.
© 2016-2026 All site design rights belong to S.Y.A.