JavaScript, 20 Lessons to Successful Web Development (2015)
PART II Advanced JavaScript
LESSON 15 Interacting with the Document Object Model

To view the accompanying video for this lesson, please visit mhprofessional.com/nixonjavascript/.
The Document Object Model (DOM) separates the different parts of an HTML document into a hierarchy of objects, each one having its own properties. The term property is used for referring to an attribute of an object such as the HTML it contains, its width and height, and so on.
The outermost object possible is the window object, which is the current browser window, tab, iframe, or popped-up window. Underneath this is the document object, of which there can be more than one (such as several documents loaded into different iframes within a page). And inside a document there are other objects such as the head and body of a page.
Within the head there can be other objects such as the title and meta objects, while the body object can contain numerous other objects, including headings, anchors, forms, and so forth.
The DOM
Figure 15-1 shows a representation of the DOM of an example document, with the document title of Example, a meta tag in the head, and three HTML elements (a link, a form, and an image) in the body section.
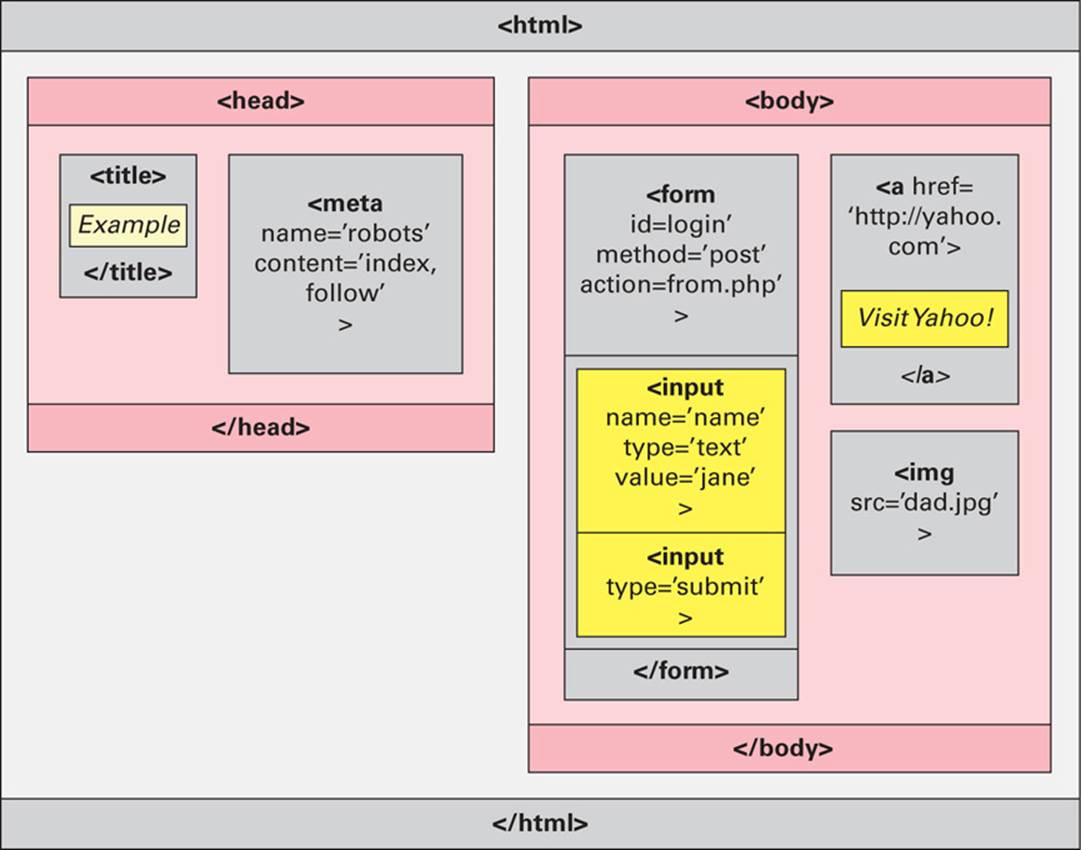
FIGURE 15-1 Example of a DOM showing head and body sections
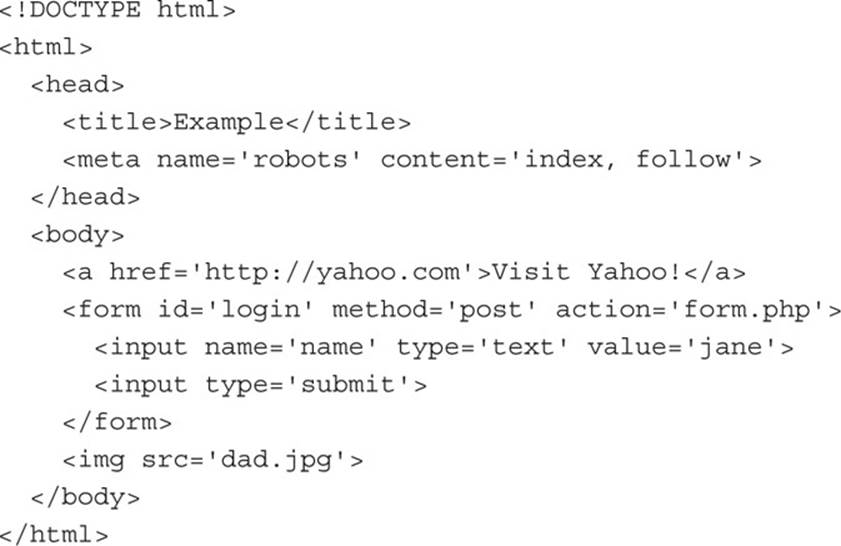
The source of this example web page looks like this:
Starting with the <head> section, you can see that there are two elements. The first is the document’s title of Example, contained within <title> and </title> tags, whereas the second is the meta tag that tells search engine crawlers that the document may be crawled, its contents indexed, and any links can be followed:

This is done by passing the value robots to the name attribute and the string index, follow to the content attribute. Meta tags are self-closing (empty), so there is no </meta> tag. The section is then closed with a </head> tag:
</head>
Next is the body of the document, which is contained within <body> and </body> tags. There are three elements in this section: a link to http://yahoo.com in <a> and </a> tags, an embedded image that uses a self-closing <img> tag, and a form contained within <form> and </form> tags:
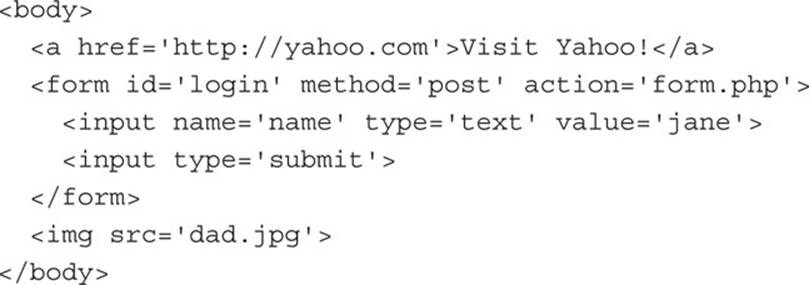
The form passes a value of login to the id attribute, post to the method attribute, and the program name form.php (the program that is to process the form data when it is submitted) is assigned to the action attribute, as follows (from now on, I will refer to the id attribute simply as an element’s ID):
<form id=′login’ method=′post’ action=′form.php’>
The method used for sending the data to the server is specified by the method attribute. Its value can be either post or get. This example uses a post request that sends the data in a hidden manner. (A get request would pass the posted data by attaching it after the URL in what is known as a query string.)
Inside the form there are two self-closing <input> tags. The first passes the string value name to the name attribute, text to the type attribute, and the value jane to the value attribute. This pre-populates the input field with the word jane, but it can be altered by the user:
<input name=′name’ type=′text’ value=′jane’>
After this, a second <input> tag creates a submit button by passing the value submit to its type attribute:
<input type=′submit’>
Finally, the form is closed with a </form> tag, and the image is displayed:
When opened in a browser, the document looks something like Figure 15-2.
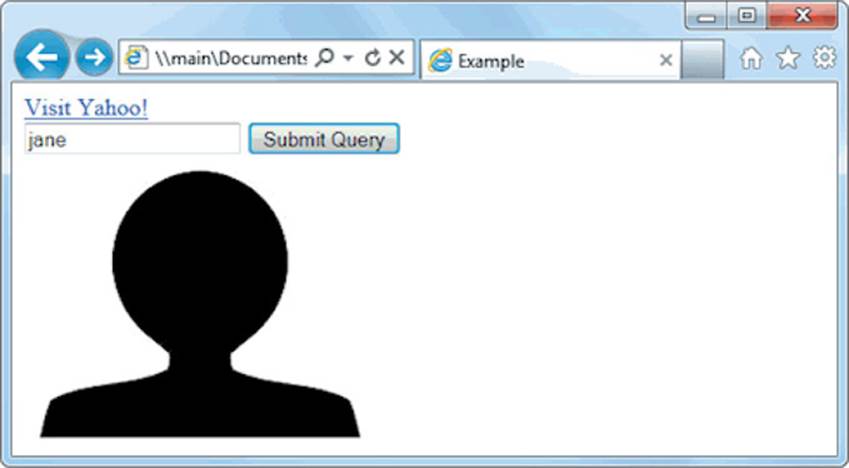
FIGURE 15-2 The result of displaying the example web page
Accessing the DOM from JavaScript
Now let’s look at how elements can be manipulated from JavaScript, which (as you know) should always be placed within <script> and </script> tags, which these examples assume have already been applied. For example, the following code changes the document’s title to An example web page:
document.title = ′An example web page′
As you will recall, JavaScript uses the period operator either to pass the current object to a function (or method) or to reference properties of objects. In this case, title is a property of the document object, so this statement has the same effect as if you opened the document in a program editor and directly edited the title within the <title> and </title> tags yourself.
Similarly, the form method type of post (in the example in the previous section) could be easily changed to get, like this:
document.forms.login.method = ′get′
Here the JavaScript references first the document, then the forms within that document, then the form with the ID of login and its method, which is then modified.
Using the getElementById() Function
In the previous couple of examples I showed you how to access parts of a document by their type, but there’s a far, far easier method, which is to give every element in a document a unique ID, and then to access them from JavaScript using just those IDs.
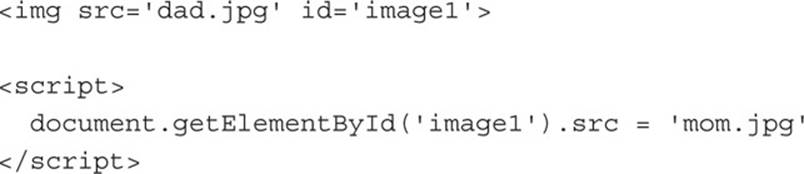
For example, if the <img> tag is given an ID (such as image1) with which it can be identified, it’s possible to replace the image loaded by it with another, as with the following code, in which the male-shaped dad.jpg image is replaced with mom.jpg to match the default name in the form field of jane:
The trick here is to use the JavaScript function getElementById(), which will let you access any DOM element that has been given a unique ID. Therefore, let’s look at another example by restoring the previous name and image mismatch by altering the default name value directly, rather than accessing the element via document.forms.login.
By giving the form field an ID (such as name) and using getElementById(), we can avoid the long-windedness of the previous example and go straight to the element to change it, like this (in which I have shown only the updated <input> tag HTML and not the remainder of the HTML—which remains unchanged):
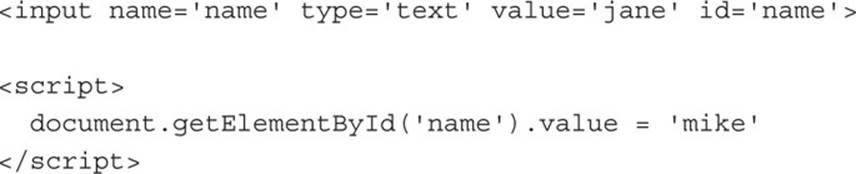
See how much easier it is than having to remember whether an element is part of a form, an image, or something else? All you have to do is know the ID of an element, and getElementById() will do the job of finding it for you.
Figure 15-3 shows how the web page now displays after these changes. The title is different, the default input value is mike, and the image shown is mom.jpg (yes, the gender is all confused again).

FIGURE 15-3 Three elements of the page have been modified with JavaScript.
The Simpler O() Function
I use the getElementById() function so often that I have created a simple function called O() (with an uppercase O) to make it quicker to type in. The function looks like this and I place it at the start of any JavaScript, right after the opening <script> tag, like this:
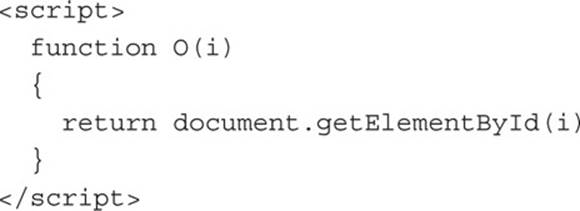
Doing this saves 22 characters of typing each time the replacement O() function is used instead of the longer one.
One reason for the tremendous shortening is that the preceding document. has also been incorporated into the O() function, saving on typing in that too, as you can see if you compare the following long and short versions:

However, there’s one further step I like to take that makes the function even more useful and that’s to allow the passing to it of either element IDs (which is what it does so far) or an object that has already been created (possibly as the result of previously having called the O() function).
Let me explain it like this. Instead of manipulating the value of the form input with the ID of name directly, let’s first create an object from this element, like this:
newobject = O(′name′)
Now that I have this object, I can access it as often as I like without ever having to call the O() function again, like this, for example (in which the value is changed on separate occasions):

However, I am a lazy programmer (as are all “good” programmers). Once I have created a function, I like to reuse it rather than writing a new one, and there are times when I would also like to pass either an object to the O() function (as you’ll see in the following section) or an ID name.
Therefore, I prefer to use the following version of the function, which supports either type of argument:

What is happening here is that the argument passed in i (for ID) is analyzed by the code, and if it happens to already be of the type object, the object is simply returned because it is already an object. But if it is not of that type, it is assumed to be an ID name, in which case it is looked up and returned as an object with a call to getElementById().
The Partner S() Function
In a similar fashion to the space saving produced by using the O() function, there is one other function that I use frequently because its action is also used all the time in JavaScript, and that’s the new function S() (with an uppercase S). I use this to enable JavaScript to easily access any styleattribute of any element.
For example, if I wish to change the width and height of the image, I can do it like this (which results in Figure 15-4, when the other lines of HTML and JavaScript we’ve been using are included):

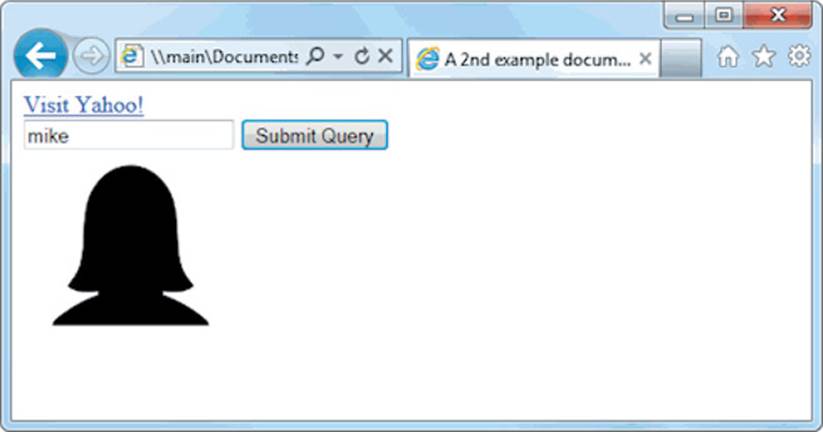
FIGURE 15-4 The mom.jpg image has been reduced in size.
What I’ve done here is simply make the S() function place a call to the O() function, but with an added .style suffix, and now I can use O() for accessing elements by name and S() for accessing the style attributes of elements by name.
What’s more, because the O() function allows either ID names or objects, I can pass either type of argument to S() as well. Therefore, if I have an object called myobject (perhaps previously created using the O() function), I can change its width property like this:
S(myobject).width = ′100px′
This code can be quicker, as the object is only looked up once, and is therefore a more efficient way to code when an element may be accessed more than once. This works because you are allowed to enter <script> tags as many times as you like in a document; there is no requirement to keep all your JavaScript code within a single set of <script> and </script> tags, although you may do so if you wish.
Accessing Multiple Elements by Class
So far I’ve provided you with two simple functions that make it easy for you to access any element on a web page and any style property of an element. Sometimes, though, you will want to access more than one element at a time and you can do this by assigning a CSS class name to each such element, like these examples:

Then you can use the following handy C() (short for Class) function to return an array containing all the objects that match the class name provided:
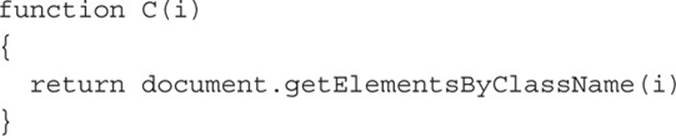
Using the C() Function
To use the function, simply call it like this, saving the returned array so that you can access each of the elements individually as required or, more likely to be the case, en masse via a loop:
MyArray = C(′MyClass′)
Now you can do whatever you like with the objects returned, such as setting their textDecoration style property to underline, as follows:

This code iterates through the objects in MyArray[] and then uses the S() function to reference each one’s style property, setting its textDecoration property to underline, as shown by Figure 15-5.

FIGURE 15-5 Modifying all elements in a class
The Difference Between Properties in CSS and JavaScript
Something important to note here is that the textDecoration property is an example of a CSS property that is normally hyphenated like this: text-decoration. But because JavaScript reserves the hyphen character for use as a mathematical operator, whenever you access a hyphenated CSS property, you must omit the hyphen and set the character immediately following it to uppercase. Another example of this is the font-size property, which is referenced in JavaScript as fontSize when placed after a period operator, like this:
MyObject.style.fontSize = ′16pt′
Or like this if you are using my S() function:
S(MyObject).fontSize = ′16pt′
The only possible alternative to this is to be more long-winded and use the setAttribute() function, which supports (and in fact requires) standard CSS property names, like this:
MyObject.setAttribute(′style’, ’font-size:16pt′)

Some versions of Microsoft Internet Explorer are picky about using the JavaScript-style CSS property names under specific conditions. So if you ever encounter problems with them, simply revert to the long form and use the setAttribute() function and you should be alright.
Summary of the Three Functions
Therefore, now you have three powerful functions you can use for quick and easy access of any individual web element (using O()), its style property (using S()), or a group of objects by class (using C()).
Together these will save you countless lines of programming code and speed up your development time substantially. Simply remember to copy the following into the section of any document you’ll be accessing via JavaScript:

With this code pasted at the start of your web pages, JavaScript programming should be as easy as possible. Better still, instead of pasting them in, include the mainfunctions.js file supplied in the companion archive, like this:
<script src=′mainfunctions.js’></script>
Just place that single line in the <head> of any web pages that access the functions.
I use the functions O(), S(), and C() in the remainder of this book (as well as in all my other books and courses that cover JavaScript) because they substantially reduce the examples down in size, and also make them far easier for you to follow what’s going on. Therefore, I assume you have included these functions at the start of your document as previously discussed and will not repeat their definitions in further examples.
Some Common Properties
Using JavaScript, you can modify any property of any element in a web document, in a similar manner to using CSS. I have already shown how to access CSS properties, using either the JavaScript short form or the setAttribute() function to use exact CSS property names. Therefore, I won’t bore you by detailing all of these hundreds of properties.
Rather, I’d like to show you how to access just a few of the CSS properties as an overview of some of the things you can do.
First, then, let’s look at modifying a few CSS properties from JavaScript using the following code, which first creates a <div> object, and then statements within a <script> section of HTML modify various attributes:
<div id=′object’>Div Object</div>
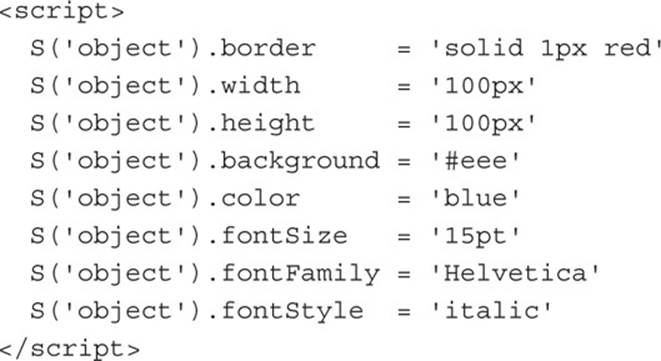
Remember that this assumes you have included the set of three functions I provided earlier in the <head> of the web page first. Figure 15-6 shows the result of applying this code (available as properties.htm in the accompanying archive).
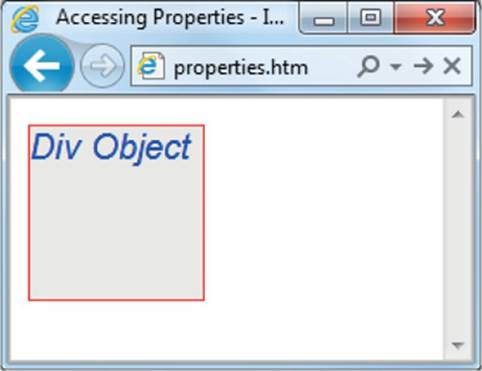
FIGURE 15-6 A <div> element with various properties modified
Other Properties
JavaScript also opens up access to a very wide range of other properties too, such as the width and height of the browser, and the same for any pop-up or in-browser windows or frames, and handy information such as the parent window (if there is one) and the history of URLs visited this session.
All these properties are accessed from the window object via the period operator (for example, window.name), and Table 15-1 lists them all, along with descriptions of each.
TABLE 15-1 Window Properties
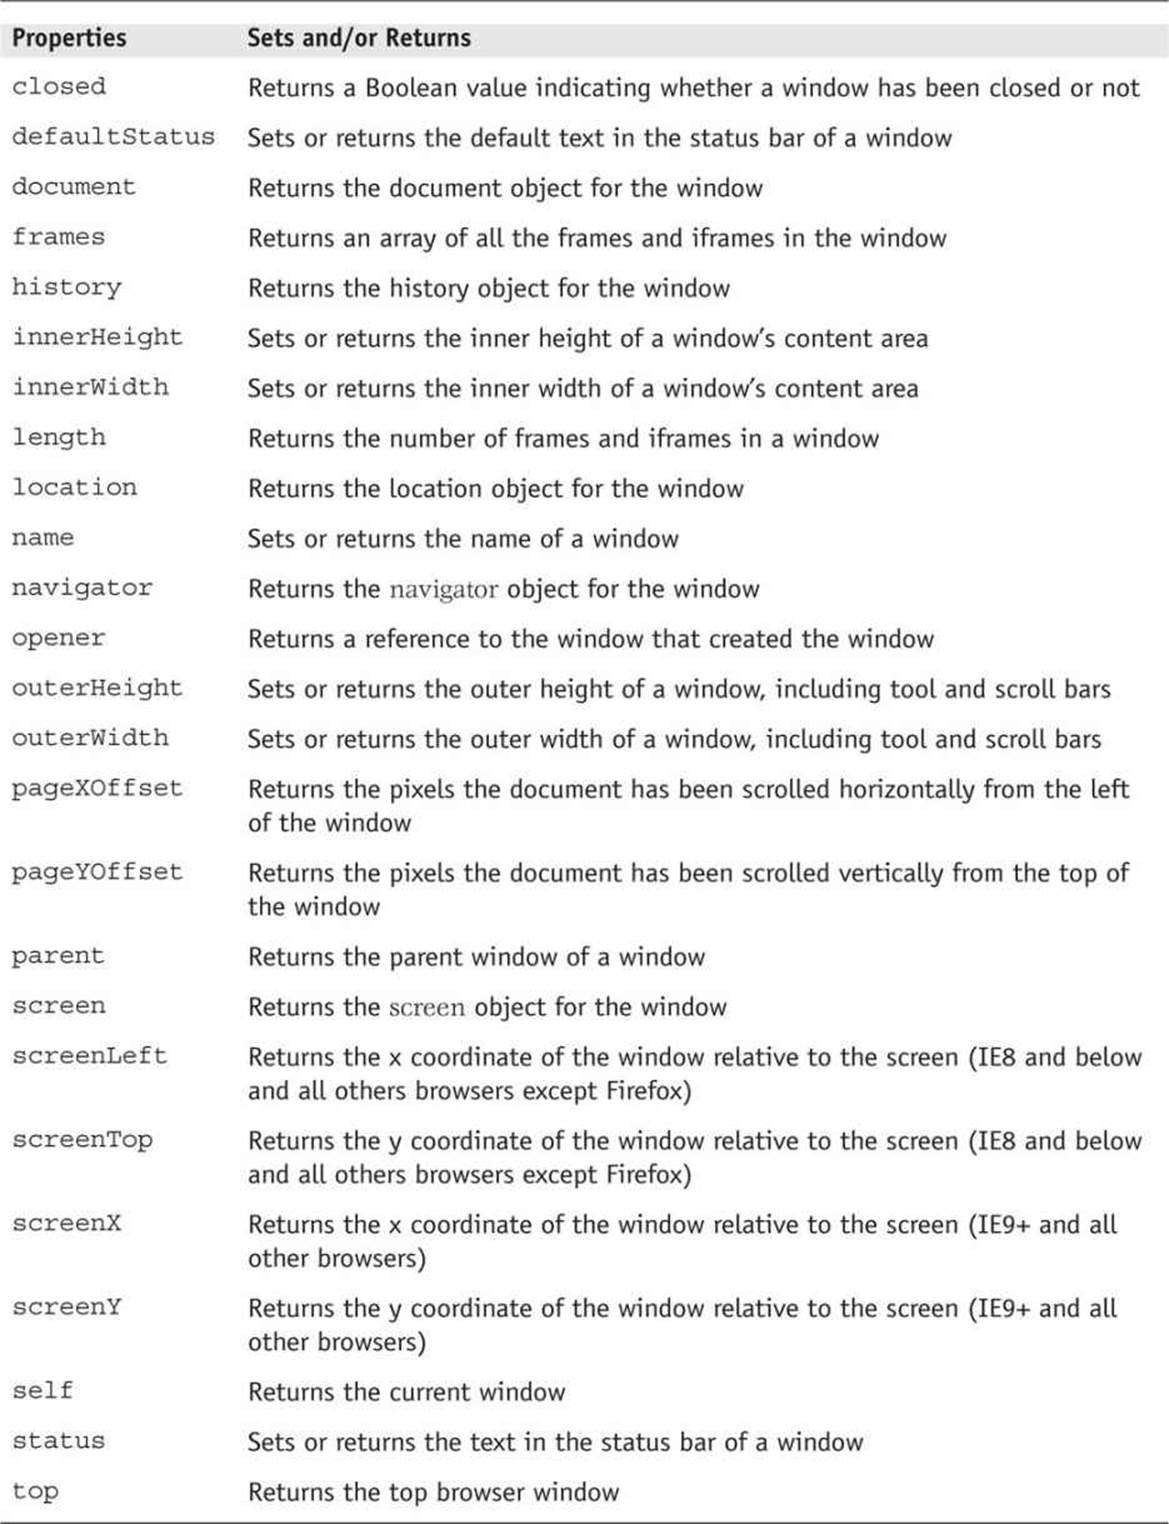
There are a few points to note about some of these properties.
• The defaultStatus and status properties can be set only if users have modified their browsers to allow it (very unlikely).
• The history object cannot be read from (so you cannot see where your visitors have been surfing). However, it supports the length property to determine how long the history is, and the back(), forward(), and go() methods to navigate to specific pages in the history.
• When you need to know how much space is available in a current window of the web browser, just read the values in window.innerHeight and window .innerWidth—I often use these values for centering in-browser pop-up alerts or confirm dialog windows.
• The screen object supports the following read properties: availHeight, availWidth, colorDepth, height, pixelDepth, and width, and is therefore great for determining information about the user’s display.
These few items of information will get you started and already provide you with many new and interesting things you can do with JavaScript. But, in fact, there are far more properties and methods available than can be covered in a crash course such as this. However, now that you know how to access and use properties, all you need is a resource listing them all, so I recommend you check out the following URL as a good initial point to start: tinyurl.com/domproperties.
Summary
Having become comfortable with working with the DOM in this lesson, you will now be able to easily access and modify most JavaScript elements and properties, either individually by ID name or as objects, or in groups by class names. You will also have added the three handy functionsO(), S(), and C() to your programming toolkit to help with these things. In the following lesson we’ll extend our rummaging through the DOM by inserting inline JavaScript and working directly with events.
Self-Test Questions
Using these questions, test how much you have learned in this lesson. If you don’t know an answer, go back and reread the relevant section until your knowledge is complete. You can find the answers in Appendix A.
1. Which function is used to return an object based on an element’s ID?
2. How can you modify a style property of an object?
3. Which function returns an array of objects for all elements of a specified type in a document?
4. How would you set the font size of the object MyObject to 12 points, using the setAttribute() function?
5. How can you achieve the same result as question 4 without using setAttribute()?
6. How can you determine how much space is available in the current window of the web browser?
7. How can you determine the width and height of the screen of the user’s device?
8. How can you change the title of the current document from JavaScript?
9. In JavaScript, how can you change the image displayed by an <img> tag?
10. In JavaScript, how can you change the width and height of an image (or other element)?
All materials on the site are licensed Creative Commons Attribution-Sharealike 3.0 Unported CC BY-SA 3.0 & GNU Free Documentation License (GFDL)
If you are the copyright holder of any material contained on our site and intend to remove it, please contact our site administrator for approval.
© 2016-2026 All site design rights belong to S.Y.A.