My Excel 2016 (2016)
16. Inserting SmartArt, WordArt, and Pictures
In this chapter, you’ll be introduced to Excel’s image and graphic tools. Here are the topics covered in this chapter:
→ Inserting SmartArt
→ Designing a WordArt logo
→ Adding special effects to imported pictures
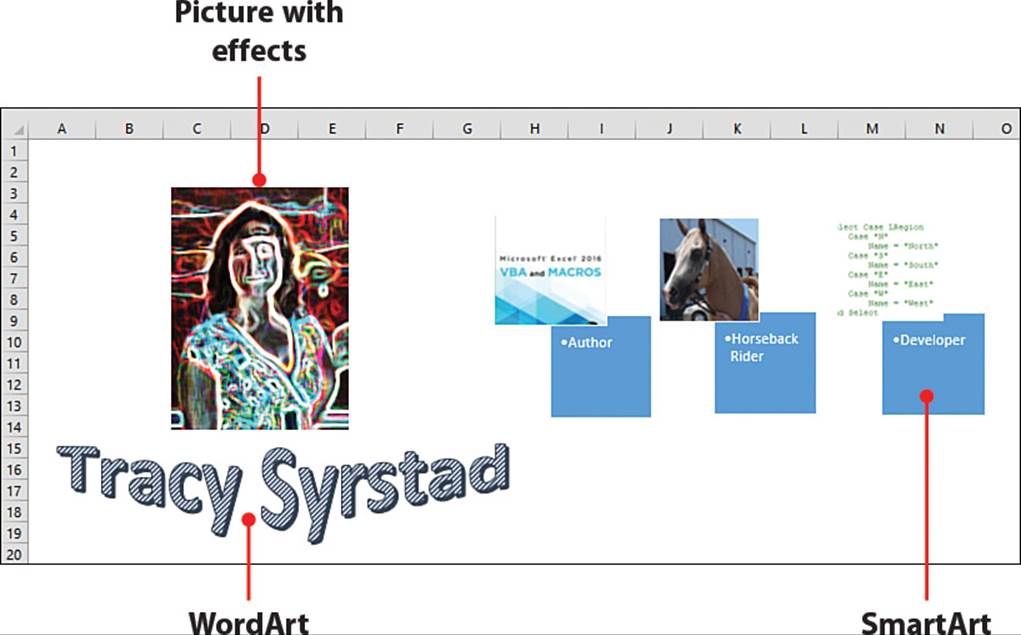
You can add a little pizzazz to your workbooks by using graphic text and images. This chapter introduces you to SmartArt, which combines graphics and text to depict ideas. You’ll also learn about WordArt, which can be used to twist colorful text, and the Picture tools you can use to manipulate imported images.
Working with SmartArt
SmartArt is a collection of similar shapes, arranged to imply a process, a relationship, or a hierarchy. You can add text to SmartArt shapes, and for some shapes, you can include a small picture or logo. For example, you could use SmartArt to create an organization’s hierarchy chart with pictures of the employees.
SmartArt and the Web App
SmartArt graphics are removed when you open a workbook in the Excel Web App.
Insert a SmartArt Graphic
When you select a specific SmartArt graphic, Excel provides information about it and its more common uses.
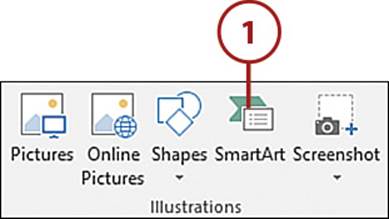
1. On the Insert tab, select SmartArt.
No SmartArt Button
If you don’t see the SmartArt button on the Insert ribbon tab, look under the Illustrations drop-down.
2. Select a SmartArt category.
3. Select a specific SmartArt design.
4. Click OK.

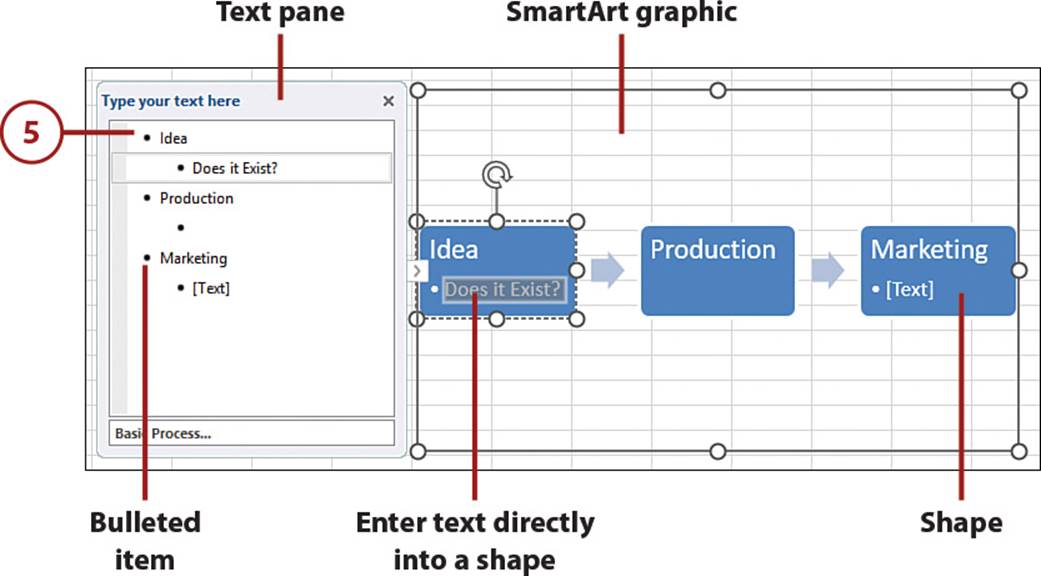
5. Select a bulleted item in the Text pane and enter the desired text.
Enter Text in Shape
You can enter text directly in a shape instead of through the Text pane. To do this, select the text in the shape and enter the desired text.
6. Press Enter to add a new item below the currently selected item.
7. To delete an item, remove all the text and then press Delete one more time to delete the bullet.
8. Select a cell on the sheet when you’re done editing the graphic.
Missing Text Pane
Do not click the X in the upper-right corner of the Text Pane to close it; otherwise, the next time you place SmartArt, the Text Pane will not automatically appear. If this happens, you can manually open the Text Pane by selecting Text Pane from the SmartArt Tools, Design tab.
Insert Images into SmartArt
Some SmartArt layouts, such as the Hexagon Cluster, include image placeholders.
1. Insert a SmartArt graphic that includes image placeholders.
2. Click the image placeholder in the Text Pane.
Or
3. Click the image placeholder in the graphic.
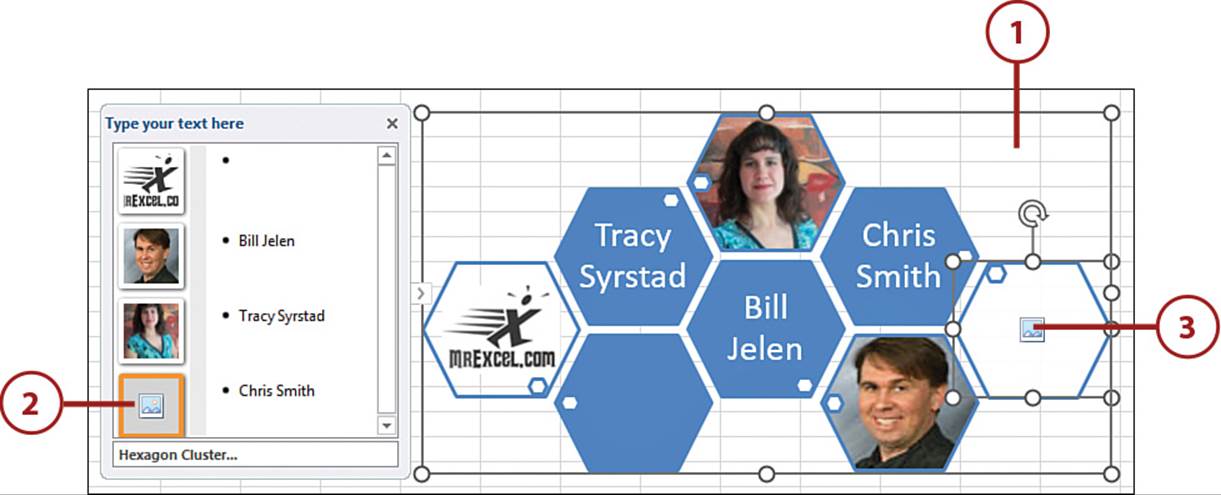
4. Select a location to browse.
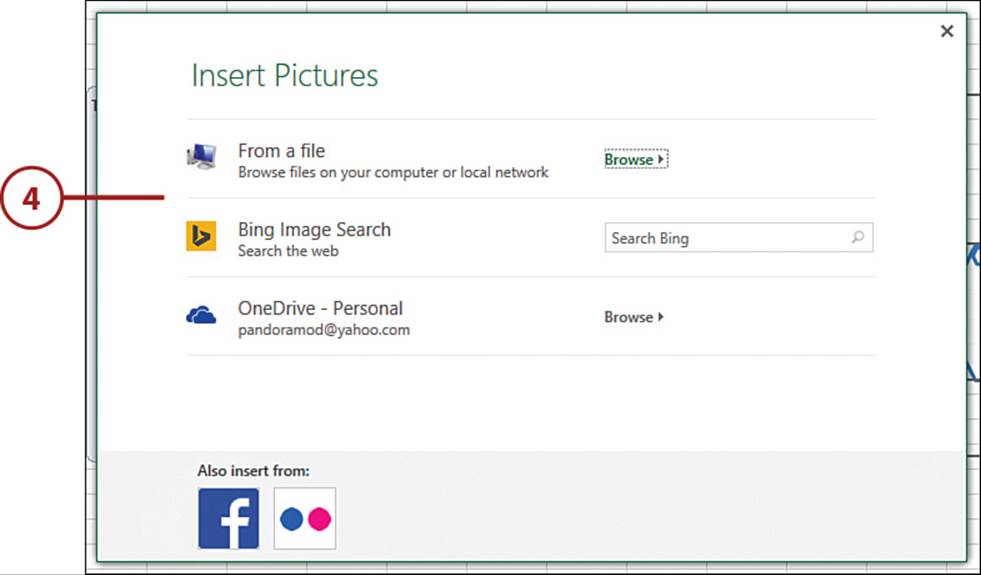
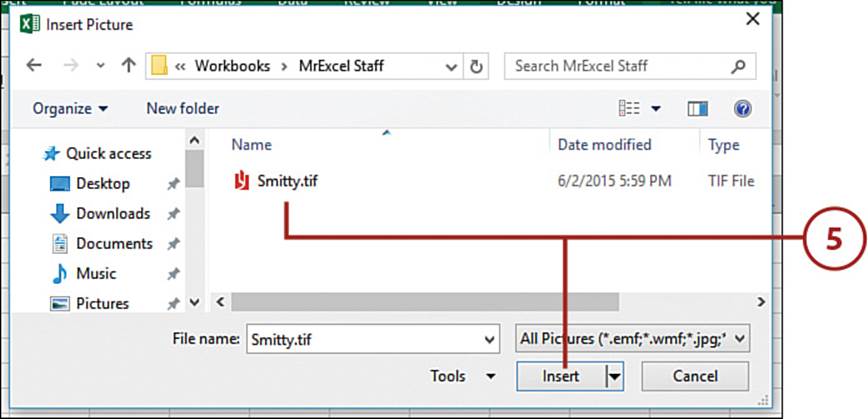
5. Select the desired image and click Insert.
Edit or Change a Picture
The Picture Tools are available once a picture is selected. To change the image, select Change Picture from the Picture Tools, Format tab. Use the options on the Picture Tools, Format tab to make any required changes to the image. See the section “Inserting Pictures” for more information on tools for modifying pictures.
Move and Resize SmartArt
Selecting a SmartArt component must be done carefully. If you have the incorrect frame selected, you will move that shape instead of the entire SmartArt frame. When moving or resizing the graphic, you’ll see that the Text Pane momentarily disappears.
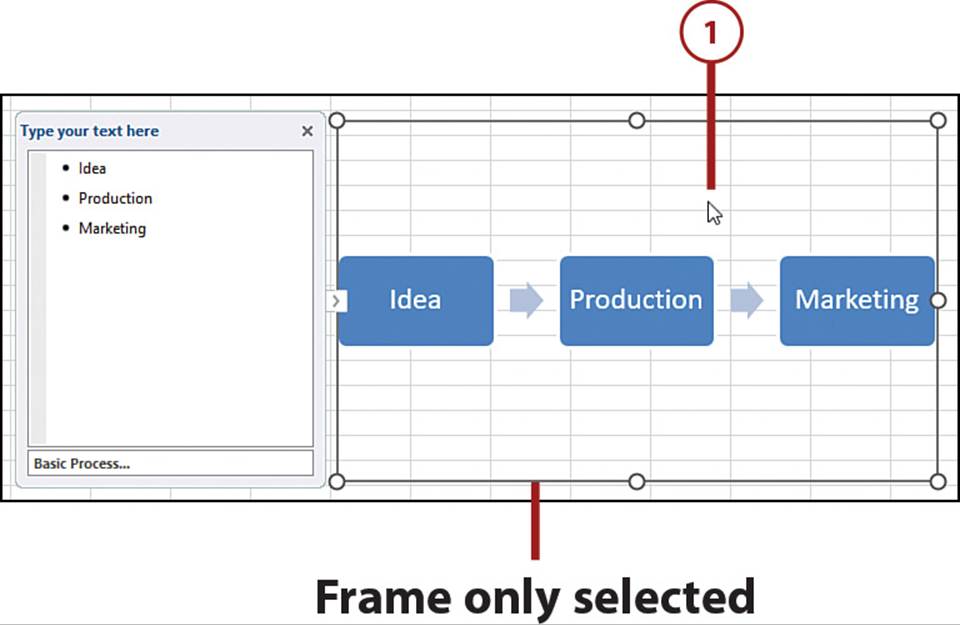
1. Click near the graphic, but without clicking a shape, to select the graphic. Only the frame around the SmartArt graphic will be visible. Also, nothing will be selected in the Text Pane.
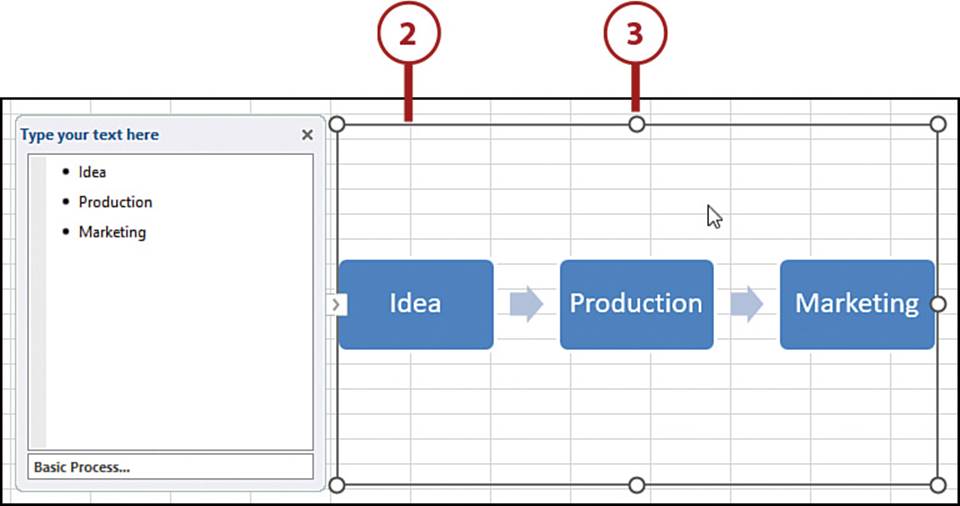
2. To move the graphic, place the pointer on the frame until it turns into a four-headed arrow; then click and drag the graphic to a new location.
3. To resize the graphic, place the pointer over any resize handle on the frame. When it turns into a double-headed arrow, click and drag the graphic to a new size.
4. Click a shape to select it, and the frame around it becomes visible.
5. To move a shape, place the pointer within the shape so that the pointer turns into a four-headed arrow. Click and drag the shape to a new location.
6. To resize a shape, place the pointer over any resize handle on the frame. When it turns into a double-headed arrow, click and drag the graphic to a new size.
7. To rotate a shape, place the pointer over the rotation handle. When the pointer turns into a circular arrow, hold the mouse button down and drag to rotate the shape.
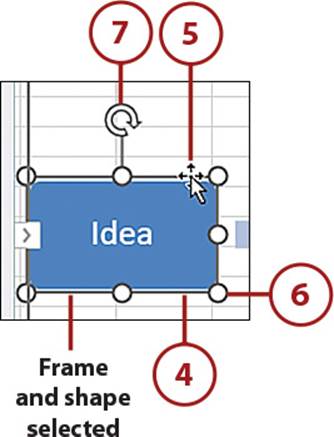
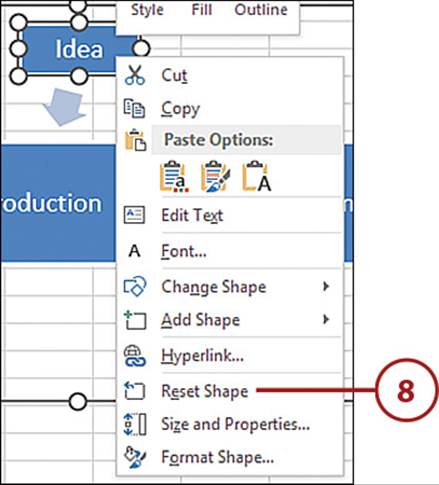
8. To undo all size and movement changes to a shape, right-click over the shape and select Reset Shape.
It’s Not All Good: Resizing Shapes
When you resize a shape by moving one edge of it, the opposite edge will also move. For example, if you pull the bottom edge of a square down, the top edge of the square will move up, increasing the shape in both directions.
Reorder Placeholders
A placeholder can be moved up and down within its level, promoted up a level or demoted down a level.
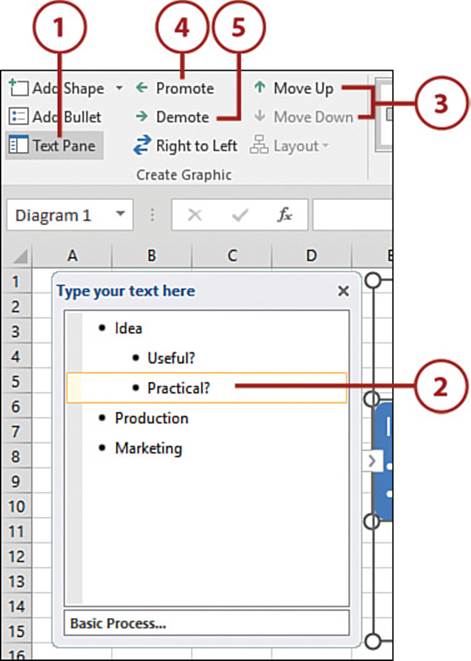
1. Select the graphic so the Text Pane appears. If it does not appear, on the SmartArt Tools, Design tab, select Text Pane.
2. Select the text to be moved.
Moving Items with Children
Each item can be moved individually, with a sublevel moving with its parent level. If you’re moving an entire shape, select level 1.
3. On the SmartArt Tools, Design tab, select Move Up or Move Down. Move Up and Move Down refer to the order of the items as shown in the Text Pane, not their actual position in the graphic.
4. Select Promote to increase the level of the selected item. The item will move to the left in the Text Pane.
5. Select Demote to decrease the level of the selected item. The item will move to the right in the Text Pane.
Move an Item to a New Level
An item can be moved only within its level; it cannot be moved into another group level. To get around this, promote the item, move it under the group level you want it in, and then demote it.
Change the Layout
Existing levels and text will transfer over to the new layout.
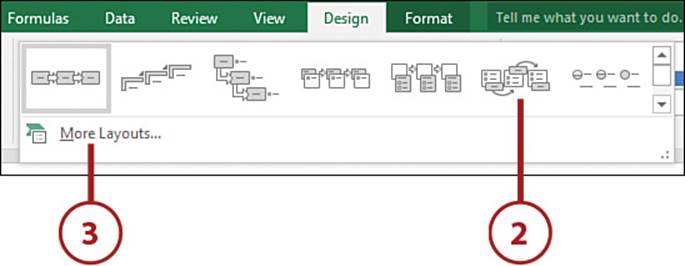
1. Select the graphic.
2. On the SmartArt Tools, Design tab, select a new layout from the Layouts gallery.
Or
3. Select More Layouts to choose a completely new category.
Change an Individual Shape
SmartArt doesn’t have to be all squares or all circles. Once you’ve placed the initial shapes, you can change them to different shapes.
1. Select the shape to change.
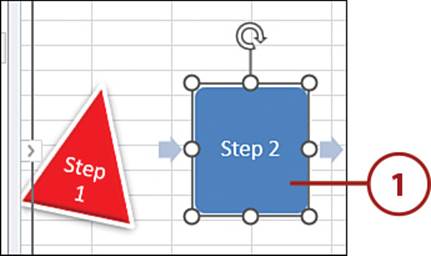
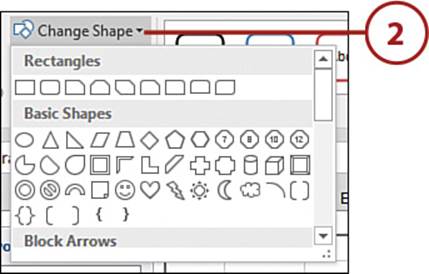
2. On the SmartArt Tools, Format drop-down, select a new shape from the Change Shape drop-down.
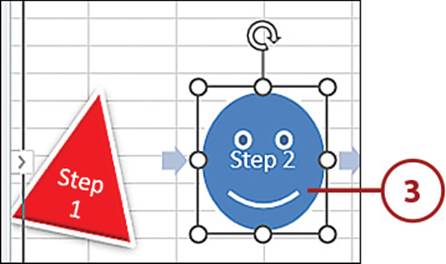
3. The selected shape will change.
Working with WordArt
WordArt allows you to design text beyond the capabilities of the normal font settings on the Home tab. WordArt is a graphic you insert onto a sheet and then modify using various tools.
WordArt and the Web App
WordArt is removed when you open a workbook in the Excel Web App.
Insert WordArt
Designing your own WordArt is easy. Once inserted, you can place it wherever you want on the sheet.
1. On the Insert tab, select a text style from the WordArt drop-down.
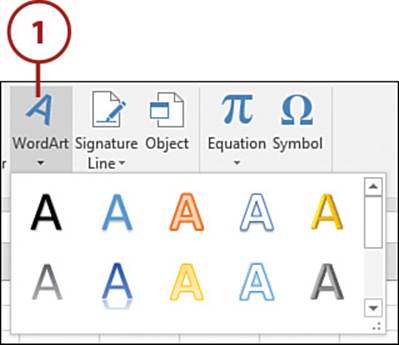
No WordArt Button
If you don’t see the WordArt button on the Insert tab, look in the Text drop-down.
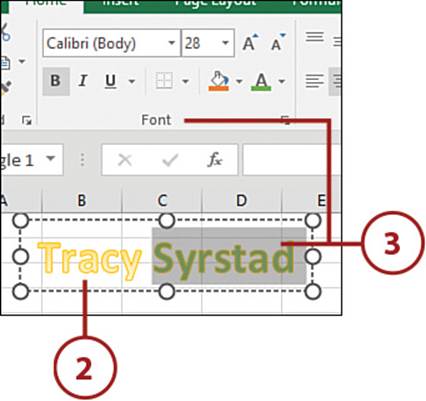
2. Select the default text in the WordArt and then type your own text.
3. To change the WordArt’s font, select the WordArt frame or the desired text. Then, on the Home tab, make selections from the Font group.
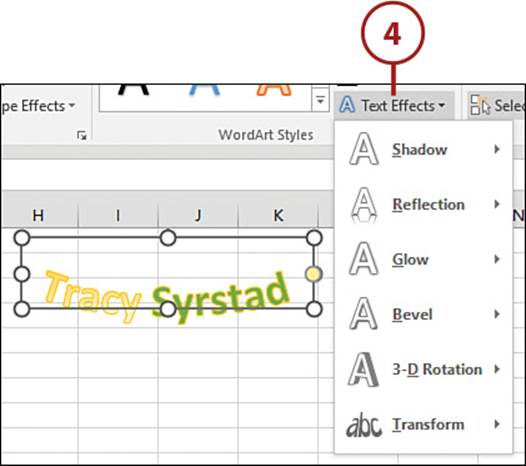
4. On the Drawing Tools, Format tab, select an effect from the Text Effects drop-down.
Inserting Pictures
Excel includes tools for modifying a picture, including picture correction, cropping, and special effects.
Insert a Picture
You can insert your own pictures or downloaded images onto a sheet. Once inserted, you can place the picture anywhere on the sheet.
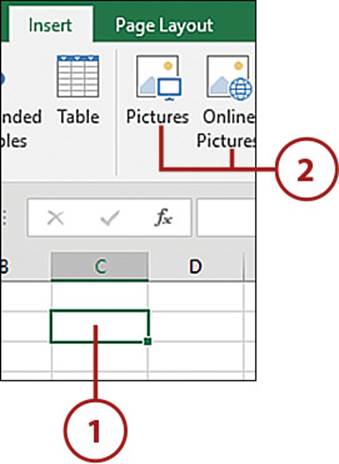
1. Select the cell where you want the upper-left corner of the picture to be. This is the initial position of the image.
2. On the Insert tab, click Pictures to select a local picture or click Online Pictures to download an image.
No Picture Button
If you don’t see the Picture button on the Insert ribbon tab, look under the Illustrations drop-down.
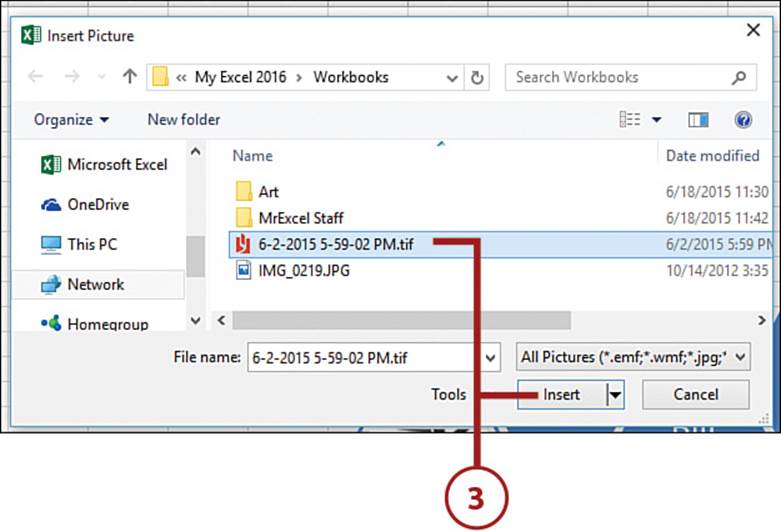
3. Select the desired image and click Insert.
Resize and Crop a Picture
When you import a picture, it comes in its true size. That is, if the image is 8×10, then it will be 8×10 on the sheet. If you want only a part of the imported picture, you can crop it, removing what you don’t need.
Cropped Images and the Web App
Cropped images are removed when you open a workbook in the Excel Web App. If the image is not cropped, it will remain in the workbook.
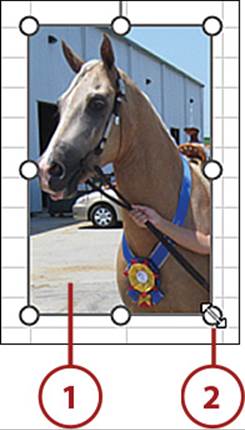
1. Select the picture.
2. To resize the picture, place the pointer over any circle on the frame. When the pointer turns into a double-headed arrow, click and drag the graphic to a new size.
Change the Aspect Ratio
By default, the aspect ratio is locked when using the corner resize handles on an image. To unlock them, right-click over the picture and select Size & Properties to open the Format Picture task pane. Unselect Lock Aspect Ratio underneath the Size properties.
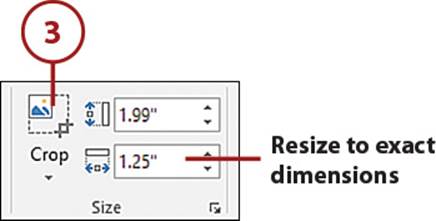
Enter Specific Dimensions
You can enter the exact size of an image. On the Picture Tools, Format tab, enter specific dimensions in the size fields.
3. On the Picture Tools, Format tab, select the Crop button.
4. Click and drag the crop handles to frame the area you want to keep.
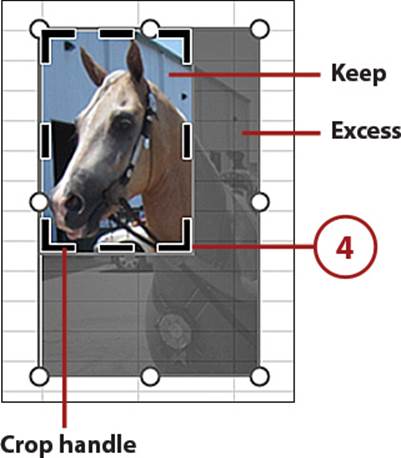
5. Click Crop again to trim away the shaded excess.
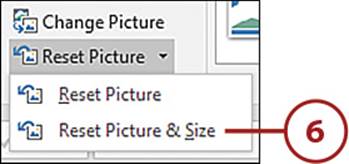
6. Select Reset Picture & Size from the Reset Picture drop-down to return the image to its original size. This will also undo any cropping, as long as the cropped areas haven’t been permanently deleted to reduce the file size.
>>>Go Further: Crop to a Shape
Select Crop to Shape from the Crop drop-down to crop the image to one of the shapes available in the drop-down. The image will be recut to the selected shape.
To nudge the image within the shape, right-click the image and select Format Picture. In the task pane, select the Picture icon. Underneath the Crop category, change the values in the Offset X and Offset Y fields. Adjusting the Offset X value moves the image left or right in the shape; adjusting the Offset Y value moves the image up or down in the shape.
Apply Corrections, Color, and Artistic Effects
You can correct the brightness and contrast, change a color image to a black-and-white image, or apply artistic effects to the selected image through the options in the Adjust group of the Picture Tools, Format tab.
As you move your pointer over an option in a drop-down, the image automatically adjusts, providing a preview of the option. Click the option to accept the change to the selected picture.
1. Select the picture.
2. Select Picture Corrections Options to open the Format Picture task pane.
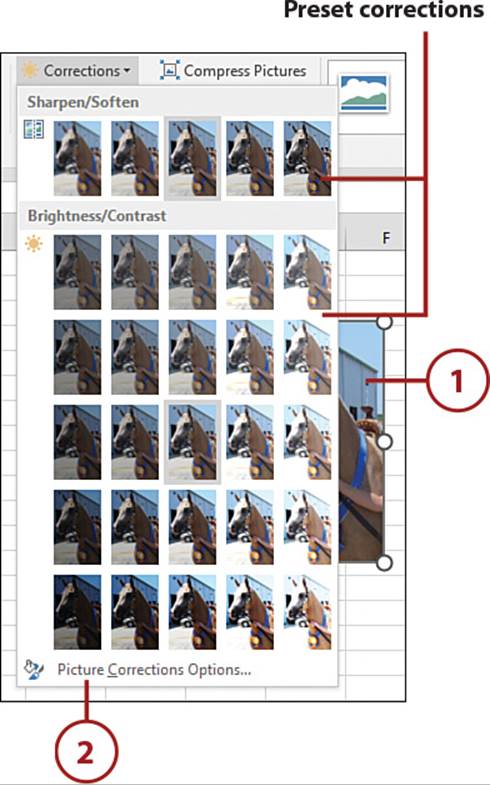
Choose From Preset Corrections
You can apply a number of preset corrections to your image. From the Corrections drop-down on the Picture Tools, Format tab, select an option to sharpen/soften the image or change the brightness/contrast.
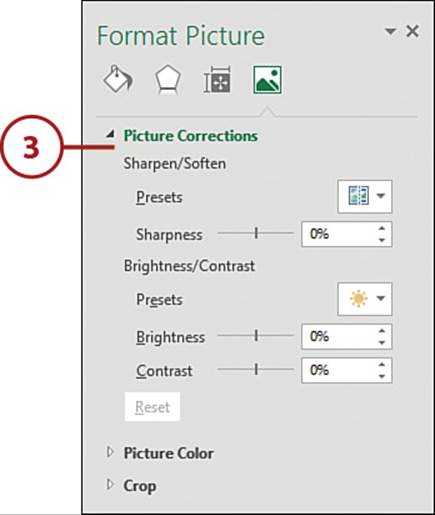
3. Adjust the settings for Sharpness, Brightness, and Contrast.
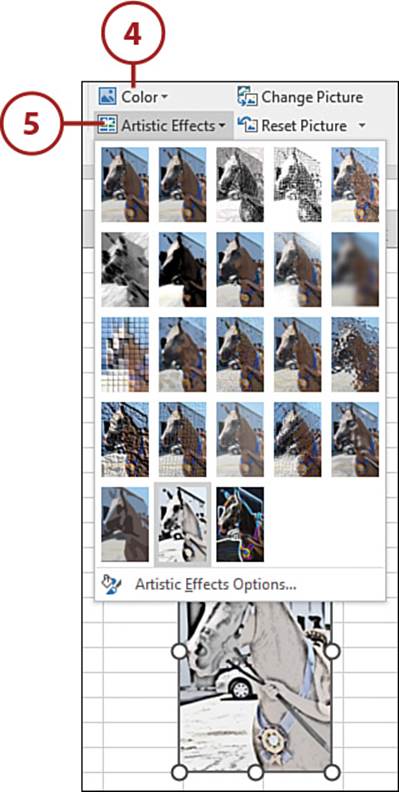
4. From the Color drop-down, modify the color saturation or tone, or apply a recolor option.
5. From the Artistic Effects drop-down, select an effect, such as Glow Edges, Film Grain, Light Screen, or any other effect that will change the way the image looks.
Reduce a File’s Size
Importing a picture into a workbook can dramatically increase the file size. Compress the picture to reduce the file size.
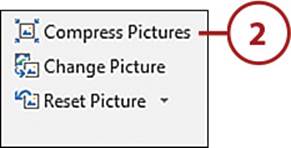
1. Select the picture.
2. On the Picture Tools, Format tab, select Compress Pictures.
3. Unselect Apply Only to This Picture to compress all pictures in the workbook.
4. To further reduce the file size, select Delete Cropped Areas of Pictures to remove any picture parts that have been cropped. If you do this, you will not be able to reset the image.
5. If the picture is of high enough resolution, additional Target Output options will be available.
6. Click OK.

All materials on the site are licensed Creative Commons Attribution-Sharealike 3.0 Unported CC BY-SA 3.0 & GNU Free Documentation License (GFDL)
If you are the copyright holder of any material contained on our site and intend to remove it, please contact our site administrator for approval.
© 2016-2026 All site design rights belong to S.Y.A.